Cutting metal is a source of much pain for the DIYers. There are many ways to get the job done, and for most garage hobbyists, getting the job done often turns into a big hassle. As we have discussed before, there are many ways to cut sheet metal, but what about the thicker stuff? Anything larger than 14 gauge is tough to get through with hand tools, and even then you are only going to be able to make straight cuts with most tools. When it comes to the really thick stuff, like 1/8” and 1/4”, you need some heavy cutting power.
In the past, this meant taking the metal to shop and paying someone to cut it or using an oxy-acetylene torch. While the old flame still burns hot in many old-timer’s hands, fewer DIYers have a torch set, and even fewer actually know how to use them safely. It is pretty easy to burn down the house with a torch. Technology over the last 15 years has come to the rescue, however, in the form of plasma.
Just a few years ago, a plasma cutter was still an expensive item for the average professional shop, even more so for a guy in his garage, but these plasma cutters can be picked up at your local NAPA Auto Parts Store. They are not cheap, but well worth the cost if you find yourself needing to cut metal on a regular basis.
Cutting metal is easy with a plasma torch, but there are some safety protocols and tricks you need to know.
Plasma is a electrically charged ionized gas, not unlike the little glowing globes for sale throughout the 1990s at novelty shops. Instead of making pretty little dancing lights, plasma cutters rip through metal like a saw, leaving cleaner edges than gas torches. The process requires electricity and high-pressure gas, typically compressed air. The compressed air is forced through a nozzle, which is electrically charged. When coupled to the work piece through a ground, an arc is generated. This arc ionizes some of the gas, which creates plasma. It is essentially the power of the sun in your hand.
The ground is the most important part of the process. If you don’t have a good ground, you will get poor results, not to mention that you can shock yourself pretty bad is you don’t have a good ground and the torch head touches the part while you are touching it.
A torch slowly heats up the metal to its melting point, at which point the gas pressure from the torch tip blows the molten metal away. A plasma cutter works in a similar process, but it all happens much faster, and the result is a much cleaner cut. The reason the cut is cleaner is because the plasma is super-hot, so it only takes a fraction of a second to cut through the metal, even thick steel. The remaining compressed gas also forces the molten metal away from the cut quicker, leaving less slag (the globs of molten metal), and a cleaner cut. Because you can move much faster with a plasma torch, you put less heat into the metal, so you can make intricate cuts without losing the defining shapes. Many parts you buy are plasma cut on CNC tables, these cuts can be nearly as precise as laser and water jet cutters, but at a fraction of the cost.
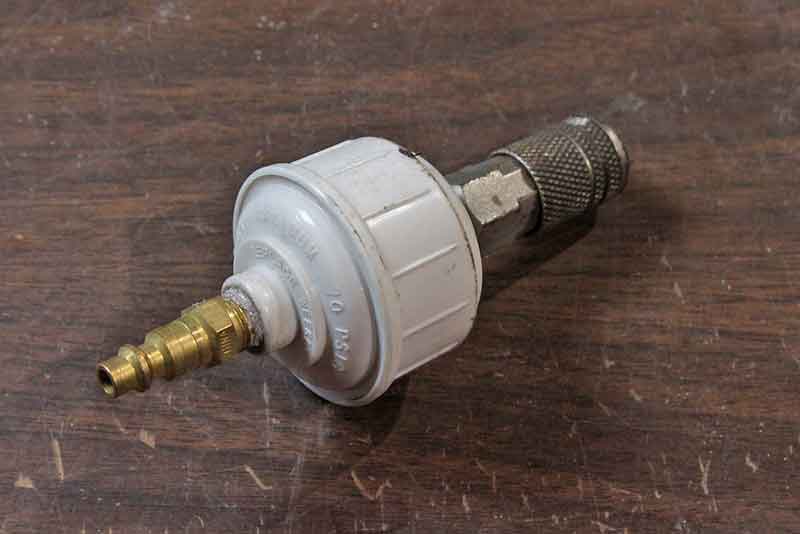
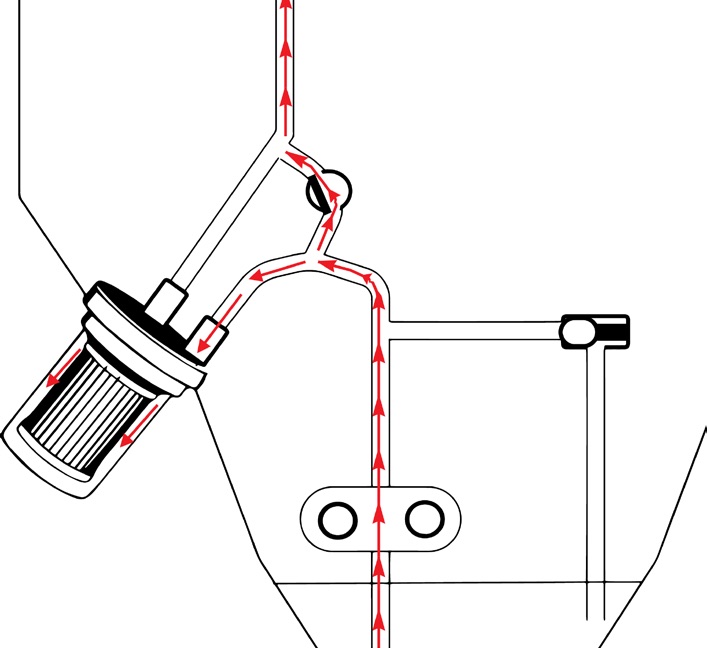
Plasma cutters use compressed air to blow the slag away. You don’t want to wet air in your plasma torch, so a disposable dryer like this is is a good idea between your hose and the machine.
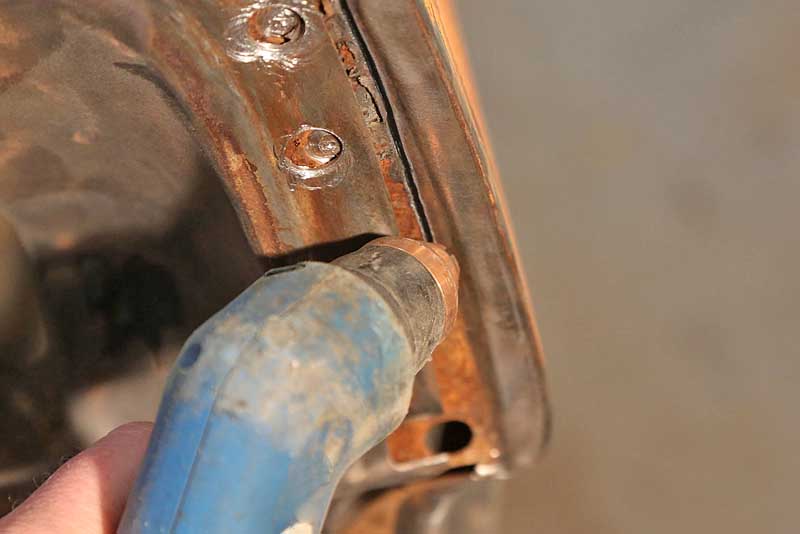
Hand-held plasma cutting will leave a slightly more jagged edge; this is because you are the one holding the torch. There are some tricks to getting cleaner cuts, but freehand cutting is how most DIYers cuts metal. The beauty of a plasma cutter is that you can cut very thin metal up to several inches thick, depending on the machine. Most hobby-level cutters are limited to 5/8” thick metal, which is suitable for nearly anything you might work on. They also can be used to cut nearly anything that is metal, including steel, stainless steel, and aluminum. You can even use them to cut rusty nuts and bolts just like you would use a gas torch, only much faster and with cleaner results. Remember, safety first! Don’t skimp on the safety, it is important. Treat plasma cutting like welding and gas torch cutting, and you will be OK. Watch out for the pieces that you are cutting off, they are very hot!
Plasma Cutting Tips and Tricks
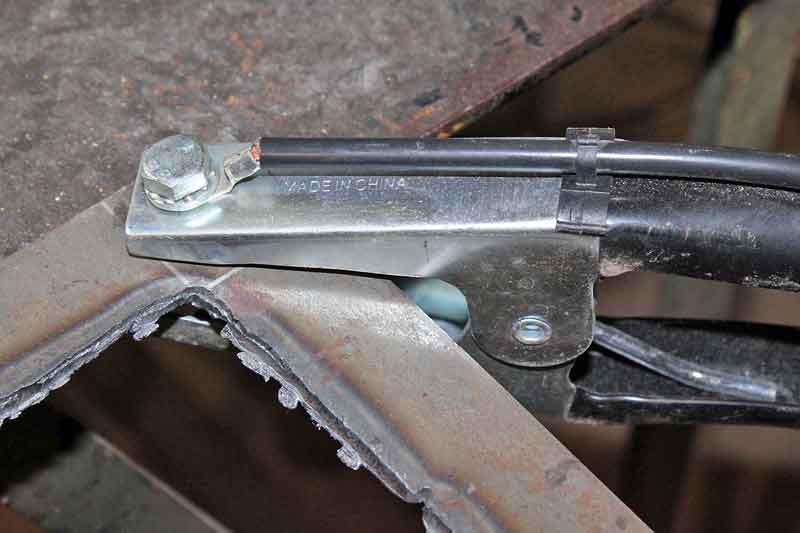
One of the hardest things to do with a plasma torch is cutting a straight line, especially on a long piece of sheet metal. The trick to this is to use a guide fence. You can buy a fence for plasma cutting, but chances are you already have one or ten lying around the garage – a yard stick. Simply place the yard stick (or 2×4) parallel to the cut line, clamp it down, and press the torch head against the stick as a guide. You need to make sure the center of the cutting tip is over the cut line and that the guide is aligned correctly. This works on new metal as well as on a car body. You can remove a rusted floor pan or quarter panel in minutes with a plasma instead of hours by hand.
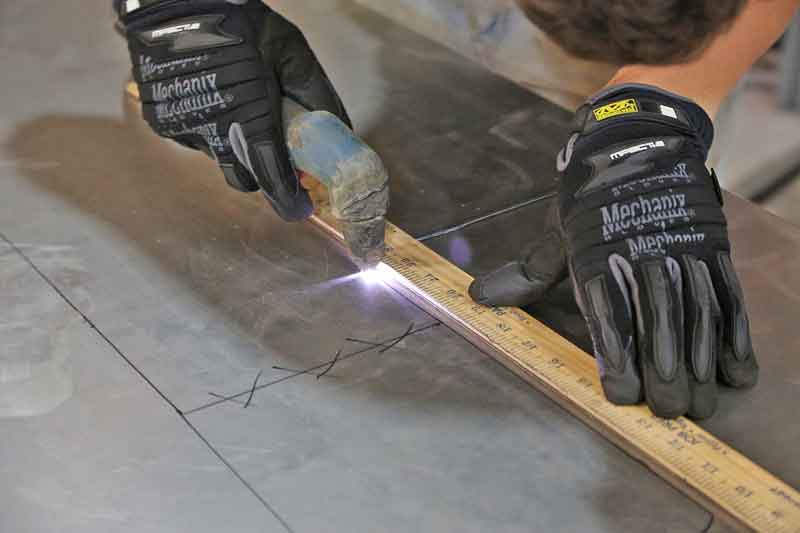
A yard stick or straight edge is the perfect tool for cutting clean straight edges. Once you get good at it, your cut can be almost laser straight.
Most of the work done with plasma torches is freehand. Don’t be afraid to use your torch on things like sheet metal, it does not warp much at all.
Cutting circles is a little tougher. You can use a wood ring (it might burn a little, but it won’t burst into flames) or some other guide similar to the above method, or you can use a circle jig. This tool bolts to your torch head and uses magnets or bolts to secure the tool to the workpiece, and then you simply fire up the torch and swing the handle around the center pivot, making a perfect circle. All other shapes are free-hand, unless you choose to make a wood guide, which you can certainly do. With some practice, you can get to the point where you can knock out spot welds by hand without damaging the rest of the panel.
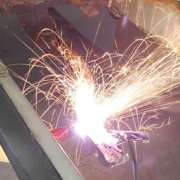
Cutting tubes like this one for a roll cage are easy with a plasma torch. We used a tubing guide to mark the shape we needed to cut.
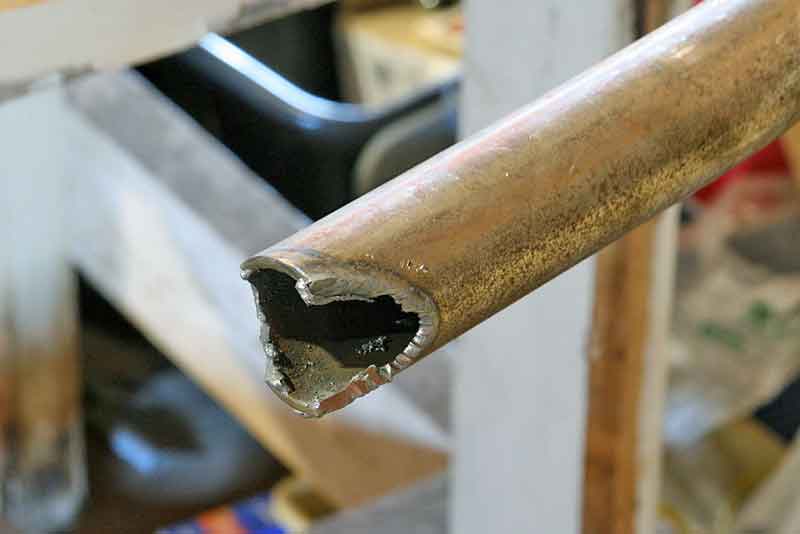
Then we notched it with the plasma cutter. The rest will get smoothed out with a grinder.
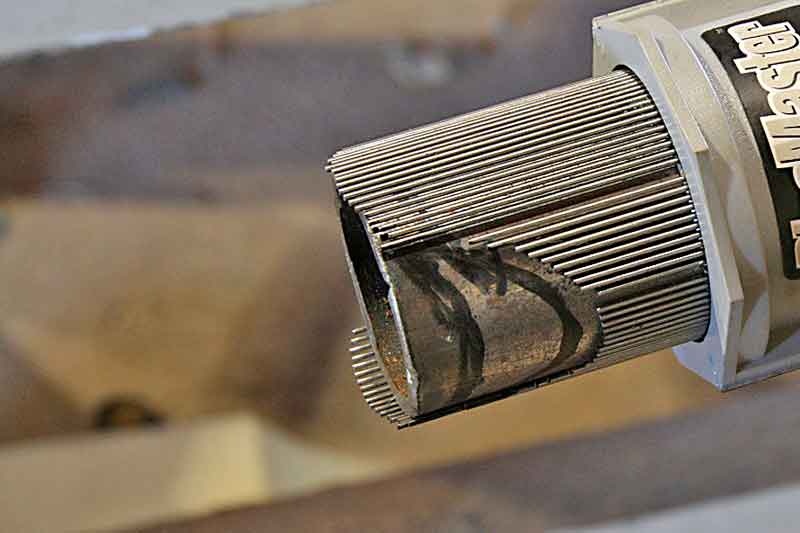
Another tip for plasma cutting is to have plenty of consumables on hand. Depending on the brand of cutter you use, you may need more tips. Exposed electrode tips can be destroyed by a single touch to the workpiece. A drag cup protects the electrode from touching the part at all, so your tips last much longer. We have used machines that go through tips in two minutes and machines that can use the same tip for six months of daily use, it varies wildly. The best bet is to do some research on the individual machine you are considering.
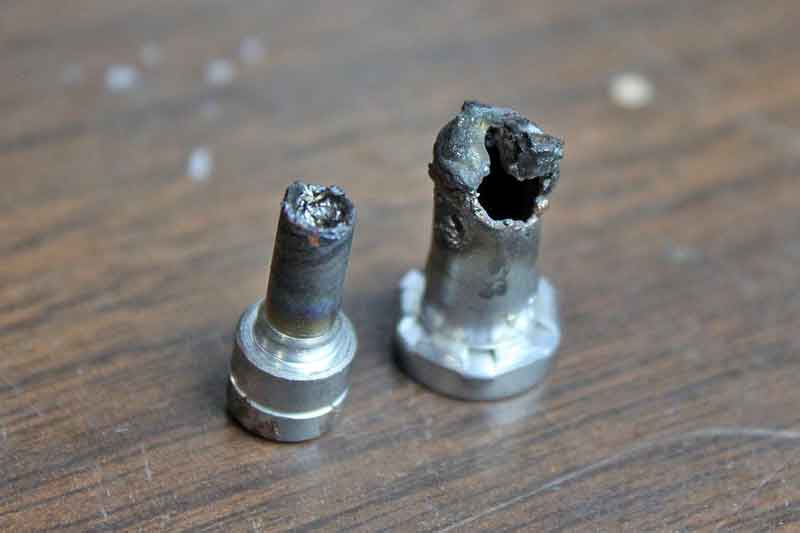
Consumables include tips, electrodes, cups, and swirl rings. The most commonly replaced items are the tips and electrodes. Shielded tips can last six months or more of regular use, but un-shielded tips like this don’t last very long at all.
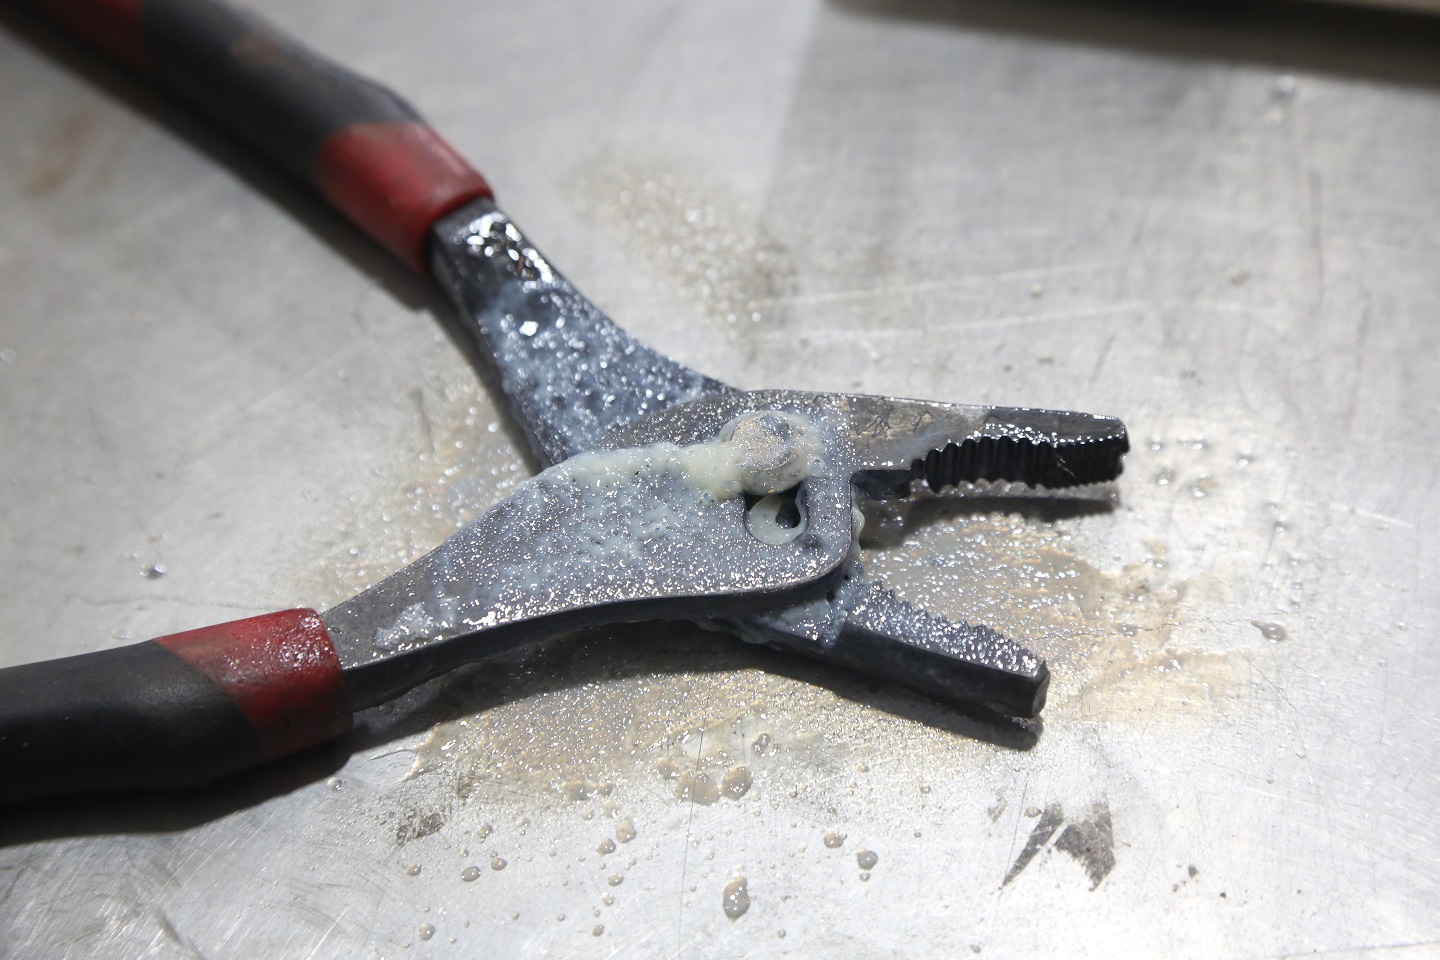
Once the cutting is done, you have to clean up the part. No matter how well you cut, there will be slag on the part. Most folks will just grab the grinder and start the tedious process of grinding off the slag, but that is a serious waste of time and effort. Instead, pick up a hammer and chisel. One well-placed knock with the hammer sends chunks of slag flying from your part, leaving a clean edge. The molten metal slag is only lightly stuck in place in most cases. Sure, sometimes you have to really whack chunks of slag, and you will have to use the grinder to clean up the cut edge for shape, but the hammer and chisel method will save you a lot of time.
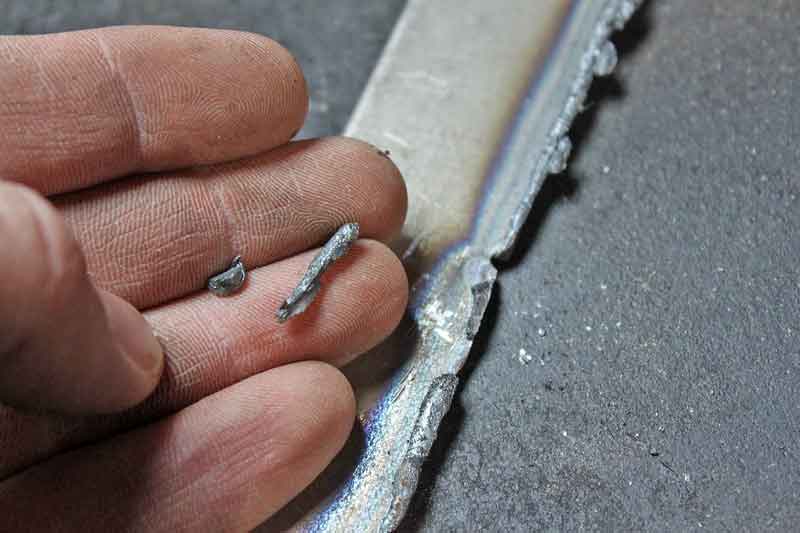
Slag is the byproduct of plasma cutting. Some people waste hours grinding this off, but a chisel and a hammer will knock it off in one blow. It is not really attached, more like stuck to the base metal. Just chip it off and move on.
Plasma cutting is the quickest, fastest and most economical way to cut metal. If you find yourself in the need to do so on even a semi-regular basis, you owe it to yourself to look into buying one. You will wonder how you ever lived without it.
Check out all the tools & equipment available on NAPA Online or trust one of our 16,000 NAPA AutoCare locations for routine maintenance and repairs. For more information on plasma cutting, chat with a knowledgeable expert at your local NAPA AUTO PARTS store.
Related Articles


 Blue Seal Certified - Employing ASE-Certified Technicians helps your customers.")